
It's Been a Ducky Day..... Hello all. I have been having way too much fun being creative lately. I have continued my journey in trying to learn new things. The catalyst for today's posting is my good friend Lynne of Her Craftiness. We all came together on my last blog hop and have come to know that we have loads in common. So with no further adieu, let me share with you the two projects I made for her blog.
Papers used:
12 x 12 Blues from Classics Cardstock (3)
Yellow Ducky Paper from AC Moore (1)
Blue Shimmer paper from Elizabeth Craft Designs (1 1/2)
"Deep Sea Diver" Bubble Paper from Reminisce's Under the Sea Collection
Embellishments:
Jolee's Boutique Dimensional Stickers
Cuttlebug and D'vine Swirls Embossing Folder
Rubber Duckies from Michaels clearance section (2 ducks for a buck)
Additional items:
Red Sticky Tape
Permanent Adhesive
Pop Dots (my favorite!)
Corner rounding punch
White scrunch ribbon
Directions:
To make the box, I took the three sheets of blue cardstock and cut them to the following dimensions:
9 x 9 inches
8 5/8 x 8 5/8 inches
8 ¼ x 8 ¼ inches
I then took my Martha Stewart Scoring Board and scored the pieces as follows:
Score the 9 x 9 sheet, 3 inches in from each side
Score the 8 5/8 x 8 5/8 sheet, 2 7/8 inches in from each side
Score the 8 ¼ x 8 ¼ sheet, 2 ¾ inches in from each side
I then cut off the 4 corners at the scored lines and was left with a cross.
The box assembly is rather easy. I decided to take my layers and use my corner rounding punch on them. I decorated each layer with different paper (rounding the corners and then used my red Sticky Tape to adhere the middle layer to the bottom and the top layer to the middle. I added a little surprise in the middle that you will soon see.
For the lid, I took my bubble paper and cut a piece 6 ¼ x 6 ¼ inches. I scored it 1 ½ inch in from each edge. The corners can be scored on the diagonal and then folded to create your lid (I think I should make a box video soon) and then I used my permanent adhesive to tack the edges down. You can also cut one of the scored corner lines and fold in the edges as well. This is what I did not the last box.
Are you ready for the visuals? I sure am...
Here is the box closed.

And , Here it is open. Isn't the ducky sweet? (I felt like Emeril there for a minute) Of course you can leave out the ducky and put a gift card as a baby gift or a thank you for a pool party invite. The possibilities are endless. I think I want to make a birthday one next.

 Here is a little bonus project for you too that I designed on the Gypsy. The cartridge that I used is Provocraft's Doodlecharms cartridge. The popsicle I used was copied and then flipped the image and welded the two together with a rectangle to form the card. The card size ended up being 6.96 x 5.03. The orange is sized at 3.69 x 5.00. I hid the cuts on it so it was solid. I inked the edges with marker (I really need more ink pads) and stamped the faces on a 1 1/4" circle I cut using the Provocraft George and Basic Shapes cartridge. The sentiments I had to handwrite as we are out of printer ink. Here is the end result....
Here is the outside......
 And the inside.........
 I thank Lynne for having me as a Guest designer for her blog. She has come to be a dear friend and a source of inspiration to me. Until Next time...
 And the inside.........
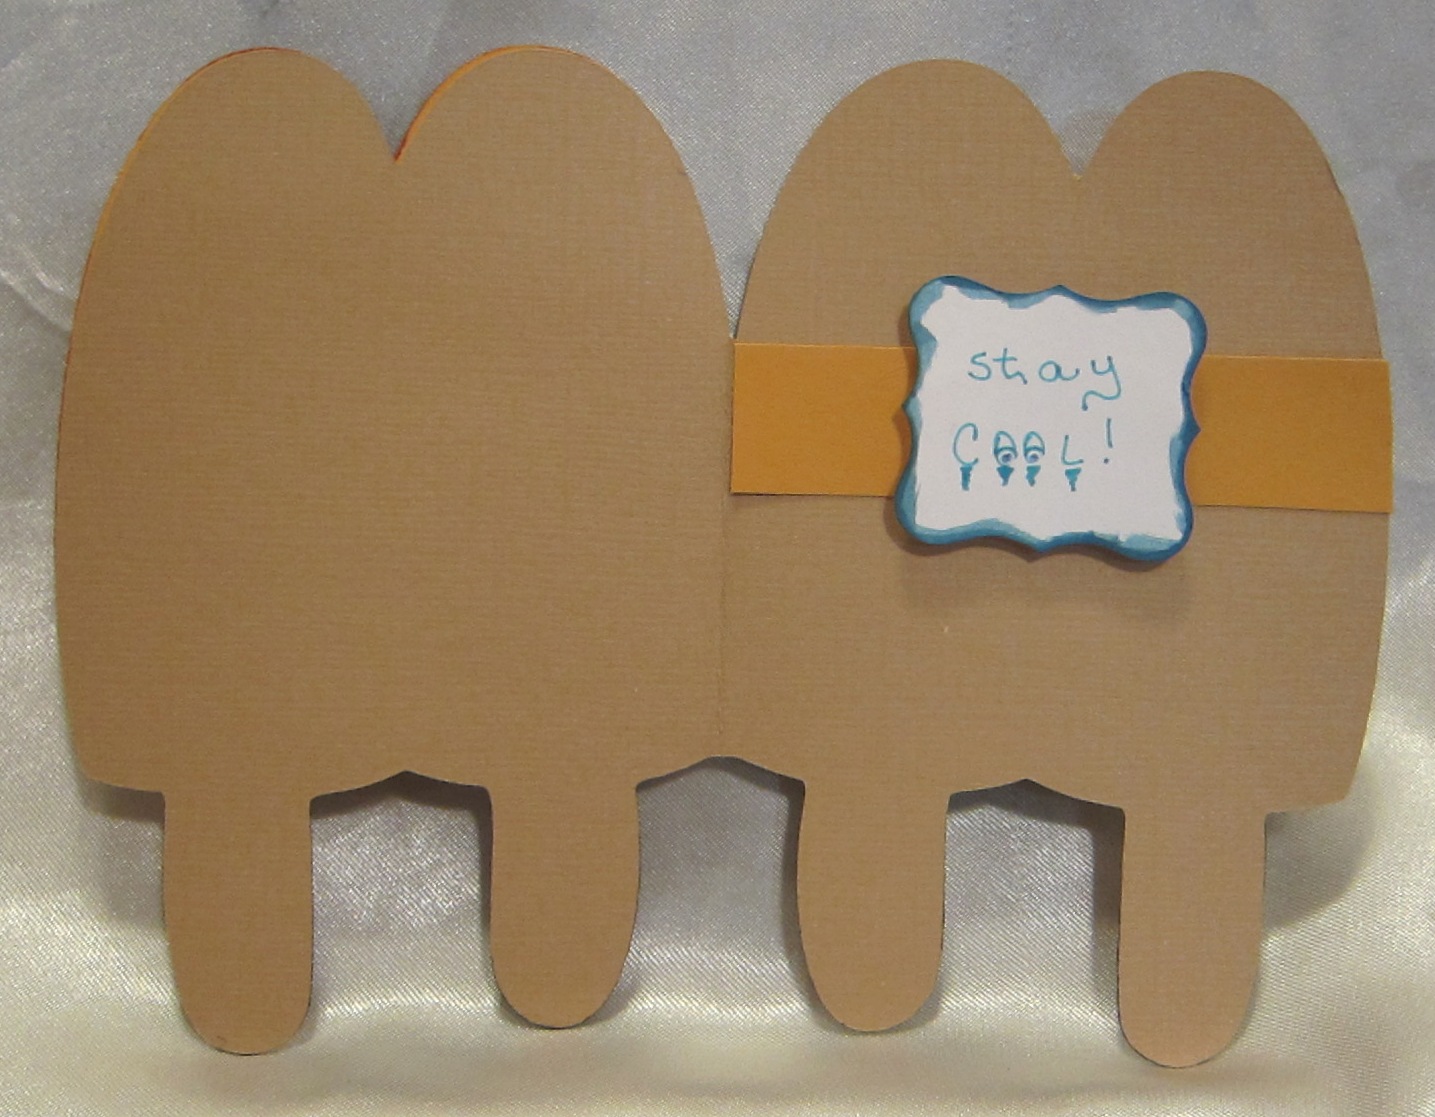 I thank Lynne for having me as a Guest designer for her blog. She has come to be a dear friend and a source of inspiration to me. Until Next time...
Did I mention, that Susan, I absolutely love love love exploding boxes and just love the rubby duckies, and I promise not to spring into song again with either Rubber Ducky or Popsicle Toes!!!! LOL!! The popsicle card looks absolutely delicious and kewl especially in this heat!!!! Also, when you design your Birthday Exploding Box --- keep me in mind to post here also!!!
I thank you again, Susan for your wonderful projects and sharing and inspiring with us!!!
God Bless
Hugs and Love,
Lynne
Wow! the cutest exploding box for a baby! love it! and the popcicle card made me laugh..TFS and great job Susan! :)
ReplyDeleteSusan I love it!!!! The ducky box is soooo cute.... and I love the popsicle card!!!
ReplyDeletehugs.. Laura